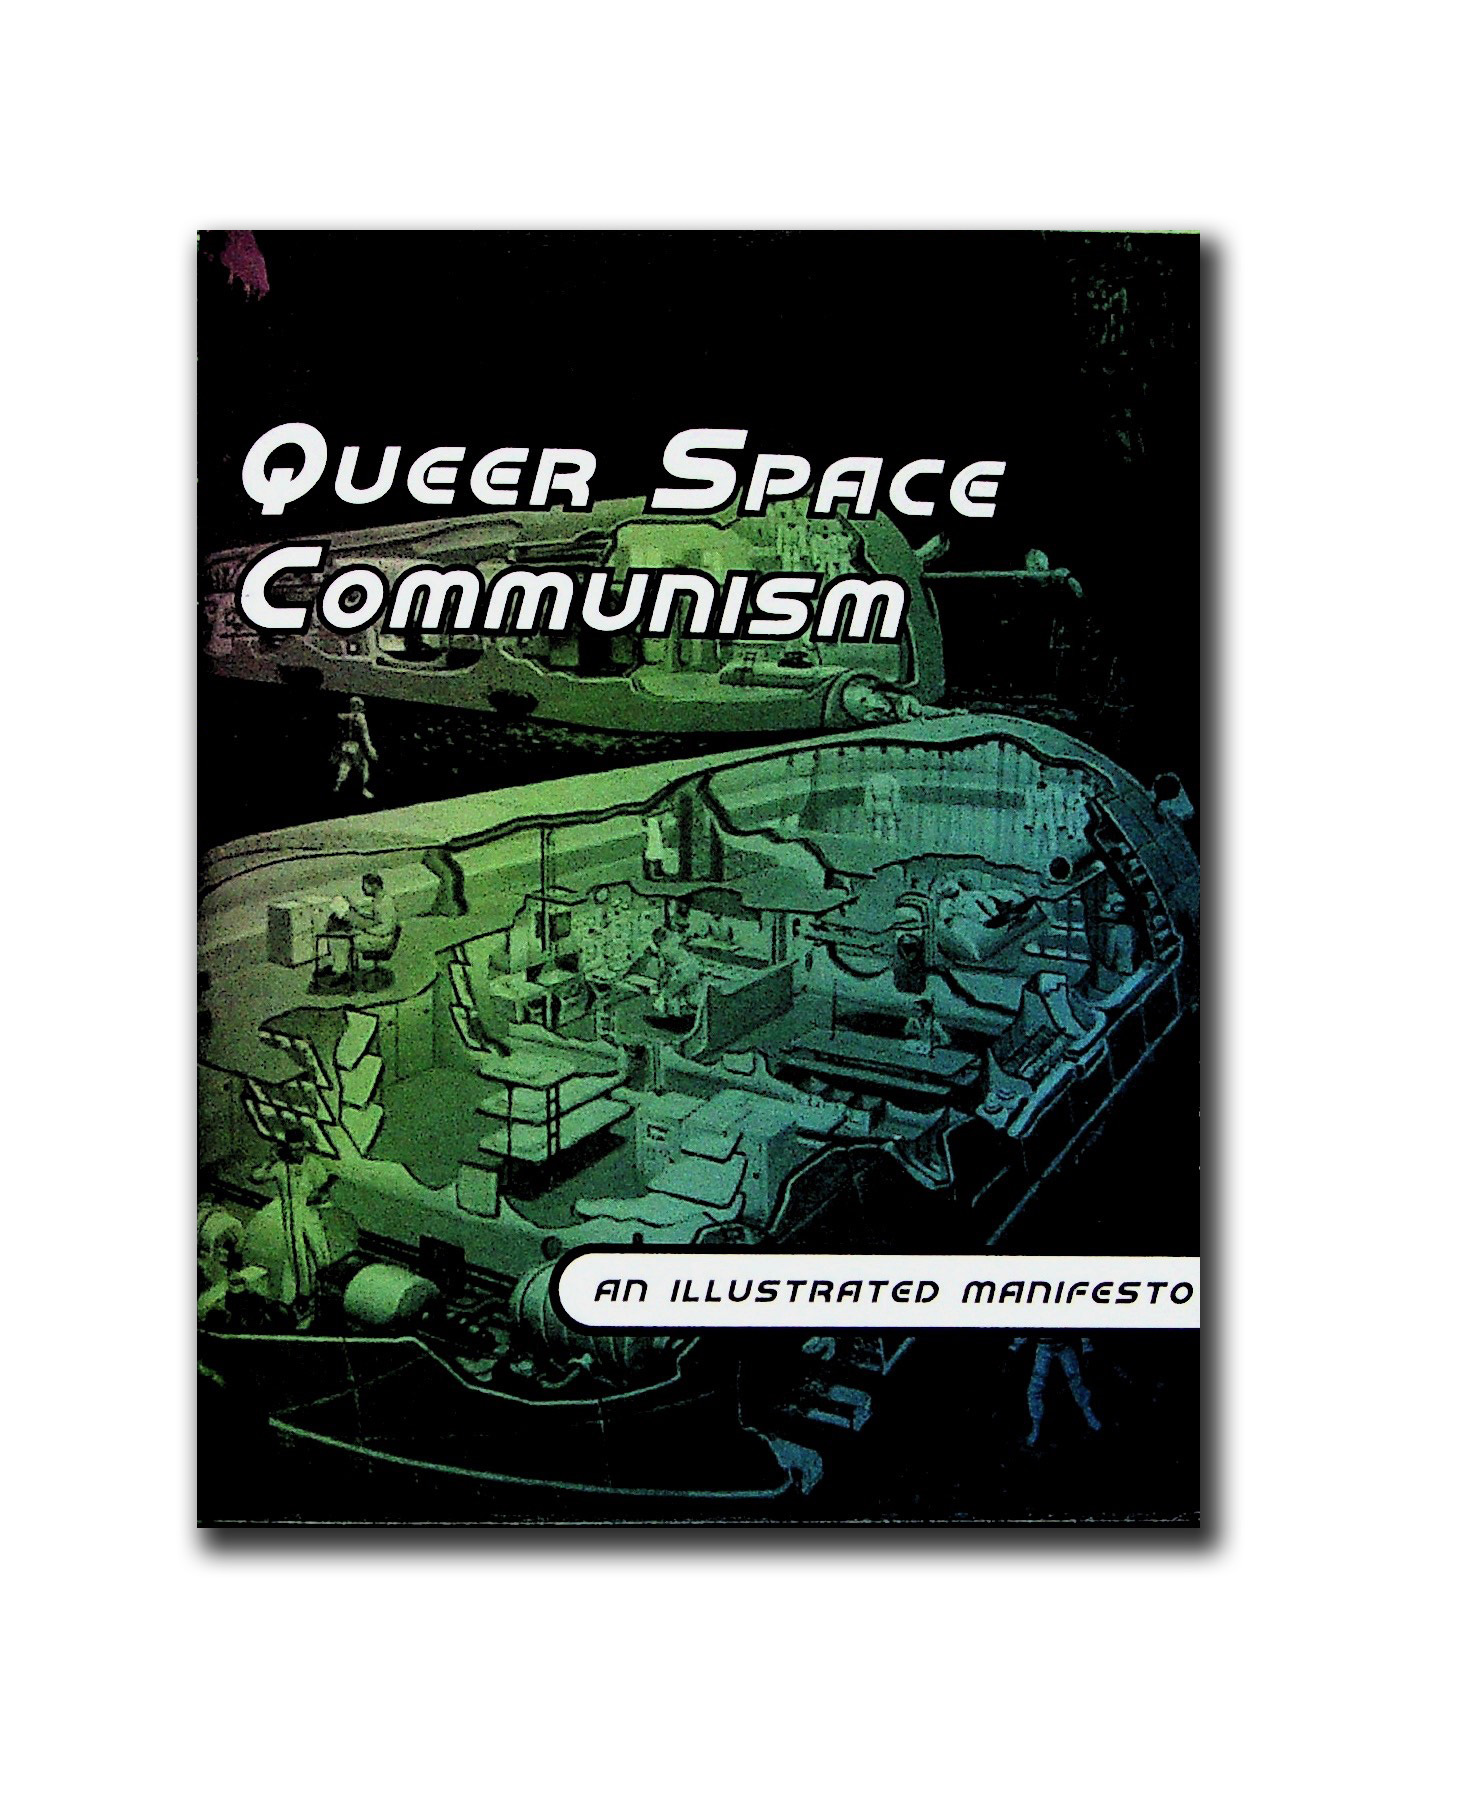
Zines are as easy to make as you want them to be, but there’s something special about a hand-sewn book. I believe intensely in the embodied experience of reading – that the triangulation between our gaze, the physical plane of the book, and our bodies is part of the meaning-making activity of consuming texts. How much moreso, then, should the making of books be a physical act? And this is especially true of zines, those most personal of books. While stapling a zine together is efficient and cost effective, hand-sewing your zines can add a personal touch. That there can be a real risk of injury only adds to the thrill. We all bleed for our art, some more literally than others.
 Pamphlet stitch is an old technology, and is one of the simplest non-adhesive bindings. It doesn’t require special tools (though I’ll recommend some below), and can be done as a solo project or in a team, with each person taking a step to divide the labor. I see bookbinding as a deeply feminist praxis. In early America, binderies were one of the few places outside the home where it was “respectable” for single women to find work. These jobs were also pathways to literacy for these young women, enabling them to learn to read and do sums, as well as providing for themselves and often their families. Reviving and reclaiming the book arts, then, is a feminist act. Queering the book arts extends this logic, and provides a new space for expression with this old tech.
So why “technology”? When I’m teaching this, I teach a technology instead of a project. The projects come from what you do with it, the only limits are your ideas. I’ve had former students show me what they’ve done with the tech, and their innovations far outpace my creativity – from albums to wedding invitations to event programs, sewn with ribbon, on all sorts of paper. I have a degree of mastery of the technology, but the artistry is up to you!
Instead of writing out the steps (which don’t mean much without a visual) here’s a video I made for the Denver Craft Ninjas a few years ago that demonstrates the technique:
https://youtu.be/fLnoHYnrlbE
Tools:
You’ll see examples of all of these in the video. You can find them at most craft stores. If you’re big box store shopping, buy your needles, cutting mats, and rotary cutters in the fabric section rather than the scrapbooking section – the tools tend to be significantly cheaper when packaged for quilters than when packaged for scrapbookers, even if it’s basically the same item!
- Bone Folders: helps crease paper and make crisp folds. I’ve used Sharpies as a handy substitute.
- Self Healing Mats: protects surfaces and your sharps tools.
- Awls: make holes in things. (Wear closed-toe shoes when binding! Awls like to roll.)
- Tapestry Needles: these blunt needles won’t snag your paper and are a little easier to thread (they have fat eyes).
- Thread: available in most craft stores. I like acid free linen thread for most of my projects, but I’ve seen folks use embroidery floss, ribbon, or even finer threads for smaller books.
- Rotary Cutters & Straight Edges: these help you get nice sharp cuts, and help even out edges if you sew a little crooked. The tech is fairly forgiving, so you can just snick off ragged edges if you need to.
- Paper: your imagination is the limit here: if it folds and you can stick holes in it, you can sew it. Acid free is good if you want something to last and not damage other paper goods.
If you make something with pamphlet stitch, I’d love to see it. Tweet a pic to @hauntologist!
Spencer Keralis is a scholar of the past, present, and future of the book who lives and works in Texas. Follow him on Twitter @hauntologist for opinions, RTs, and pictures of his cats. https://twitter.com/hauntologist

